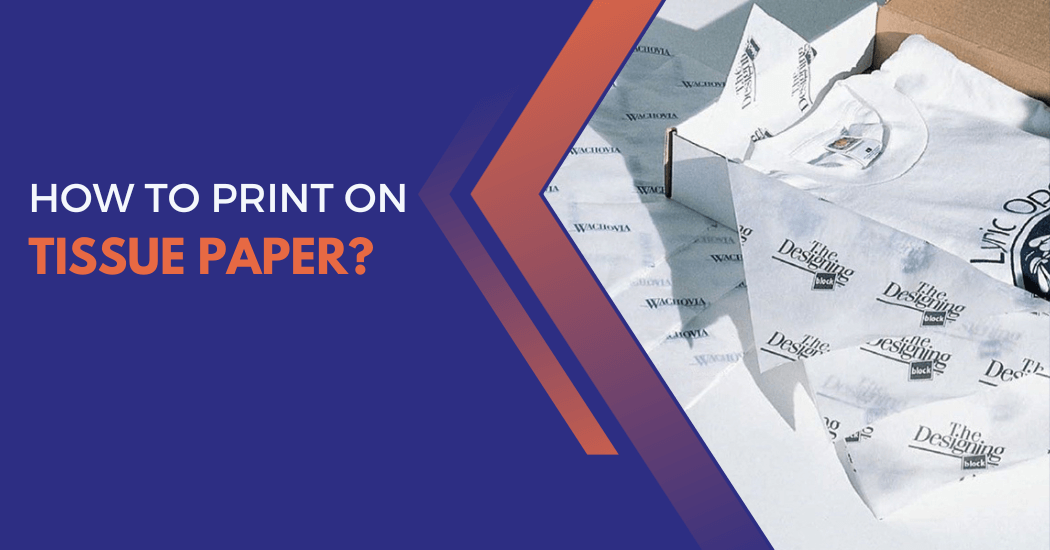
How do you print on tissue paper?
Printing on tissue paper can add a touch of elegance and personalization to various occasions, from weddings and parties to crafting and business branding. Whether you aim to create custom tissue paper for gift wrapping or want to incorporate tissue paper into your marketing materials, knowing how to print on this delicate material is essential.
In this guide, we’ll walk you through the steps to print on tissue paper, sharing tips and tricks to ensure a professional and polished result.
Discover the creative possibilities and practical applications of printing on tissue paper as we explore the methods and best practices for this unique medium.
5 Steps To Print on Tissue Paper
- Gather Your Materials: Start by gathering the essential materials. You’ll need a piece of tissue paper, a regular printer paper and some adhesive spray or double-sided tape.
- Attach the Tissue Paper to the Printer Paper: Align the tissue paper on the printer paper, ensuring it covers the area you want to print on. Spray a small amount of adhesive or apply the double-sided tape to the edges of the printer paper and stick the tissue paper onto it. Make sure the tissue paper is smooth and wrinkle-free.
- Create Your Design: Now, create your design using any graphic software. Your design could be a message, an image or a logo, depending on your purpose of printing on tissue paper.
- Print the Design: Before you print, ensure your printer settings are adjusted to the highest quality and select ‘photo paper’ as your media type. This will ensure the best results. Carefully feed the paper into the printer, tissue side down and print your design.
- Dry and Remove the Tissue Paper: After printing, allow the ink to dry for a few minutes to prevent smudging. Once dry, slowly peel the tissue paper away from the printer paper.
Your custom printed tissue paper is ready. Whether you’re decorating a gift or branding your business, this unique touch is sure to impress.
How to choose the right type of tissue paper for printing?
Before printing on tissue paper, it’s essential to choose the right type of tissue paper for your desired outcome. There are various types of tissue paper available, each with its unique characteristics and uses.
Here are a few factors to consider when choosing the right type of tissue paper for printing:
- Weight and Thickness: Tissue paper comes in different weights and thicknesses, ranging from lightweight to heavyweight. Tissue paper comes in various weights, typically measured in grams per square meter (gsm). Lighter tissue paper is suitable for delicate wrapping, while heavier tissue paper may be better for printing intricate designs. For printing, consider tissue paper in the range of 17-25 gsm.
- Color: Tissue paper comes in a variety of colors, including white, pastels, metallics and neon. Consider the color of your design and choose a tissue paper that complements it.
- Finish: Tissue paper can have different finishes, such as matte, glossy or metallic. The choice of finish can impact the appearance of your printed design. Matte finishes tend to be more elegant, while glossy finishes can make colors appear more vibrant.
- Texture: Some tissue papers have a smooth texture, while others have a more crepe-like texture. Consider the texture of your tissue paper to ensure it’s suitable for printing and won’t cause any issues with your printer.
By considering these factors, you can choose the right type of tissue paper that will enhance your design and ensure a successful printing process. It’s also recommended to test print on a small piece of tissue paper before printing in bulk.
Tips for achieving best results when printing on tissue paper
Printing on tissue paper can be challenging due to its delicate nature. Here are some tips to help you achieve the best results:
- Choose the Right Printer: Use an inkjet or laser printer that is suitable for lightweight paper. Inkjet printers are often better for tissue paper because they use liquid ink, which is less likely to rip or bleed through the paper.
- Use high-quality tissue paper: Low-quality tissue paper may not hold ink well and can easily tear or wrinkle during printing. Invest in good-quality tissue paper for better results.
- Avoid using too much ink: Tissue paper is absorbent, so it’s essential to use the right amount of ink. Too much ink can cause bleeding or smudging, resulting in a blurry design.
- Print on the tissue paper side: When printing, always make sure the tissue paper side is facing down to avoid any issues with ink absorption.
- Slow Printing Speed:
- Reduce the printing speed, as slower printing speeds are less likely to cause paper misfeeds.
- Adjust printer settings: As mentioned earlier, adjusting your printer settings to high quality and selecting ‘photo paper’ as the media type can ensure crisp and clear prints.
- Handle with care: After printing, handle the tissue paper with care to prevent any damage. Let it dry completely before handling or wrapping it around a gift.
By following these tips and using the right techniques, you can achieve professional-looking prints on tissue paper that are sure to impress. Overall, printing on tissue paper is a unique and creative way to add
Final Words
Printing on tissue paper may seem like a challenging task but it’s quite simple. With a few easy steps, you can create personalized tissue paper for your business or special event.
First, choose the design you want to print. Next, print the design onto a sheet of tissue paper using a printer that can handle delicate materials. Before printing, ensure that the tissue paper is properly aligned with the printer’s paper-feeding mechanism.
Once the printing is complete, allow the ink to dry before using the tissue paper. Printing on tissue paper is an innovative way to add a unique touch to gift wrapping, decor or promotional materials.
